Configure a signature in Roundcube
To create an email signature in the Roundcube Webmail client, follow these steps:
- Log in to Roundcube.
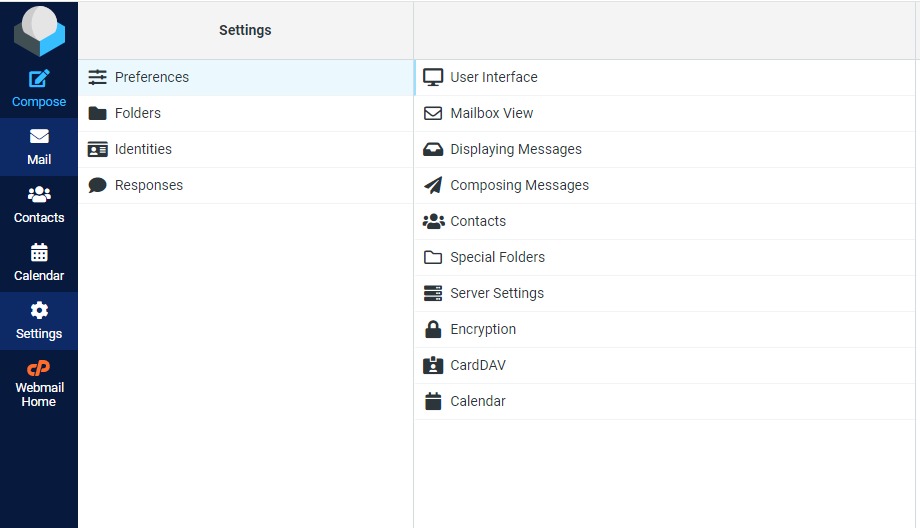
- In the side menu bar, click Settings
- On the Settings screen, click on the Identities tab.

-
Select the email address that you want to create a signature for.
-
Scroll to the Signature section and enter your custom signature in the message box.
-
Click Save.
Add an image to your signature in Roundcube
If you wish to add an image to your signature in the Roundcube Webmail client, follow these steps:
Note:
- The image file size must be smaller than the maximum allowed file size displayed in the interface.
- The image file must be in JPEG or GIF format.
- Follow steps 1-4 in the procedure referenced above.
- In the upper lefthand corner of the Signature box, click the HTML editor icon (
 ).
). - In the toolbar, click the insert/edit image icon (
 ).
). - In the Insert/edit image window, click the folder icon (
 ).
). - Click Add image.
- Select the image file to upload.
- In the bottom righthand corner, click Close.
- In the Select filename window, click the image name.
- Enter the desired dimensions for the image.
- Click OK.
- Underneath the Signature box, click Save.
Important:
The image only appears in the signature if you use the HTML editor to compose messages. To compose all messages with HTML in Roundcube, follow these steps:
Go to Settings » Preferences » Composing Messages.
Under the Main Options setting, in the Compose HTML messages menu, select always.
Click Save.

